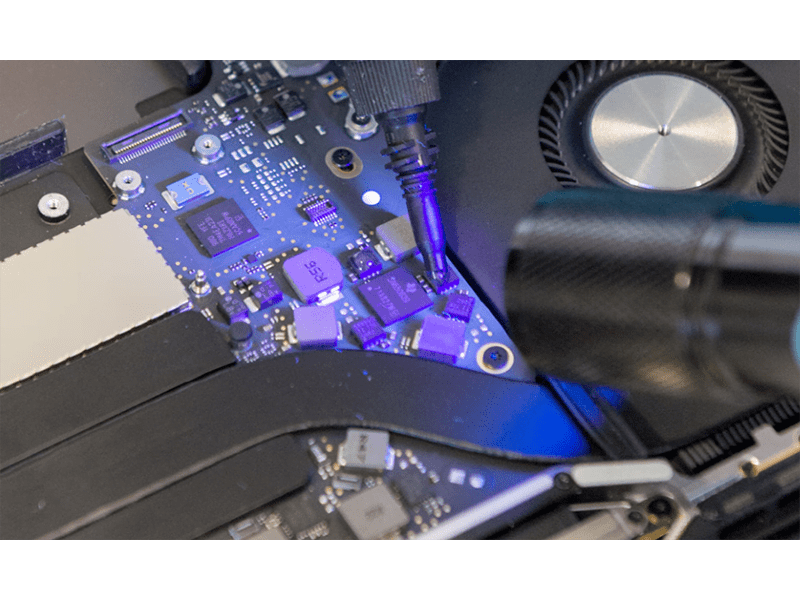
Light-curing adhesives are a popular technology in assembly processes. Their speedy curing, compatibility with automated processes and bond strength are a few reasons manufacturers choose them over other adhesive options. To make processing easier, you should be aware of certain dispensing variables. Your product’s substrates, light source, light exposure and other variables can add complexity that may inhibit the adhesive’s ability to form its best bonds.
To help you reduce the likelihood of error and easily achieve your production goals, take a look at these best practices and tips.
1. Use appropriate PPE.
Light-curing adhesives sometimes use light in the UV spectrum to cure. To ensure proper protection from this type of light, it’s a good idea to wear gloves when handling the adhesive. When UV light is used, it’s also best to wear safety goggles with UV protection for the eyes.
2. Confirm adhesive and application compatibility.
Not all assembly applications are compatible with light-curing adhesives. Some opaque or colored substrates will not transmit UV light, and many grades of clear plastics include additives (such as UV inhibitors) that can prevent curing. Work with your adhesive supplier to ensure your light-curing adhesive will work with your intended application. This can be accomplished through testing on a small part.
3. Ensure your dispensing equipment is compatible with light-curing adhesives.
Consider investing in equipment with dispensing nozzles that are compatible with light-curing adhesives. All production equipment should be opaque and UV-resistant to ensure it will not create a premature cure. If you are using a dual cure system, be mindful of the size of the orifice on the nozzle. If the orifice is too small, the adhesive can polymerize inside it, causing unexpected downtime to fix the problem.
4. Examine the production environment for unwanted light exposure.
Manufacturers often underestimate the extent to which light exposure can cause issues in the dispensing process. Light from windows or overhead lamps can cause light-curing adhesives to cure prematurely. This can lead to wasted material and increased downtime. Consider using equipment that is opaque and UV-resistant. Properly seal adhesive containers to also help shut out unwanted light. Additionally, make sure the UV light is far enough from the dispensing nozzle orifice; if the light is too close, the adhesive can cure inside the nozzle. Appropriate distance may vary depending on the adhesive; work with your adhesive provider to determine the correct distance from the light source to the adhesive.
5. Complete substrate preparation.
Ensure your substrate is clean and free of any dirt, oil or grease. These contaminants will interfere with the adhesive’s ability to properly wet the surface. Some substrates may require additional steps before a light-curing adhesive can be applied; for example, low surface energy substrates like polyethylene may require a primer or other preparation. Talk to your adhesive provider to ensure you are properly preparing your substrate with any primers or other surface energy-enhancing techniques. This will set you up for easy and safe adhesive application and ensures the adhesive will perform optimally.
6. Mitigate shadow exposure when curing.
The light-curing adhesive will need full exposure to light when curing for optimal results. If certain areas of the adhesive will be in shadows, manufacturers should consider a dual-cure adhesive instead. These solutions can be set with light and fully cured with moisture or other activation methods.
7. Watch out for air bubbles.
Air bubbles can compromise bond strength by reducing the intended weight of adhesive for the application. To reduce the likelihood of air bubbles, lines should be flushed after refilling or replacing adhesive containers before they are completely empty. Additionally, use appropriate dispensing pressure for the viscosity of the adhesive in the pressure pots. For lower viscosity adhesives, pour-in or drop-in pressure pots are most effective. Displacement pumps are suggested for higher viscosity adhesives.
8. Match the light wavelength to the adhesive.
Adhesives have a preferred wavelength of light at which they will cure fast and strong. These wavelengths can range from 365 nm – 450 nm. While your adhesive will still bond at wavelengths that are slightly off, for best results, match the UV or LED wavelength to the photo-initiators in the adhesive. Speak with your adhesive manufacturer to ensure your curing light is the correct wavelength.
9. Use appropriate light intensity.
The intensity of your light source can affect the speed of the adhesive’s cure. A higher intensity can help reduce curing time for substrates that are difficult to transmit. However, every adhesive has a maximum intensity. When the maximum limit is reached, a higher intensity will not speed up the curing process. Or, it will accelerate the cure too much and become counterproductive, as it may lower residual tackiness or lead to adhesive and substrate degradation. Your adhesive provider can provide insight on the correct intensity for your adhesive.
10. Provide consistent light exposure for even curing.
If the light source is not in a fixed position, it can cause inconsistent curing from one application to the next. This problem is easily solved by having the light built into the automation process. This way, the products can pass by the light set at a consistent distance and brightness. Talk to your adhesive provider to about recommended light sources for your adhesive.
Bostik offers precise, high-performance, light-curing adhesives that suit a wide range of assembly applications. We also provide dual cure systems with the ability to cure in shadows and use light in the visible spectrum to provide a safer experience for to the user. Our team of experts can ensure your dispensing and curing processes are easy and efficient, so you get the most out of your adhesive. If you’d like to learn more about light-curing adhesives and how to use them, contact a Bostik representative today.
