PREPARING YOUR SURFACE FOR LEVELERS
CHECK THE CONDITION OF YOUR SUBSTRATE
Before any operation begins, test the condition of your substrate. It must be clean and sound with no laitance or flaky substances. Check the hardness and strength of the floor using a sharp tool. If it readily chips away or easily scratches then it is best to mechanically prepare the floor to return to a sound, strong surface. Ensure it is dust free before proceeding.
- Clean and remove all wax, paint and grease stain residue by using a suitable degreasing agent or by stripping.
- Remove the wax from old waxed floors and sandpaper any varnish.
- Any remaining adhesive residue must be strongly bonded and non-water soluble.
- Remove as much adhesive residue as possible, ensuring only a thin and firmly bonded film remains. This can be done mechanically or with a suitable construction standard scraper.
- If there is old tiling, inspect the bond integrity of the tiles by tapping with a hammer. Remove any that sound hollow or are cracked or partially unsealed.
- In the case of an old parquet floor, remove any damaged or loose wooden blocks.
After each of these operations, remove any dust and clean the substrate thoroughly.
OUR TOP 3 TIPS FOR PREPARING TO APPLY LEVELER
1. Test the dampness of the substrate
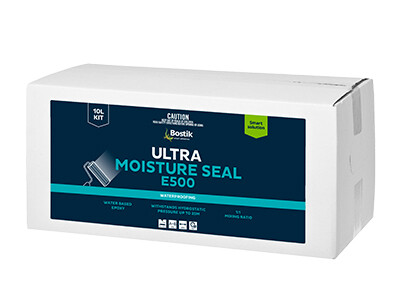
The floor to be coated with leveler must be tested for dampness or moisture content. If not thoroughly dry, it will need to be treated with a moisture control system such as Ultra Moisture Seal E500.
2. Assess the porosity of the substrate
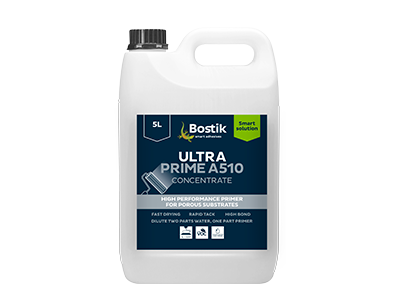
Selection of the primer will depend on the porosity of the substrate, as non-porous substrates require different primers compared to porous substrates. You must test the porosity of your substrate and use a suitable primer.
3. Leveling on a tiled surface?
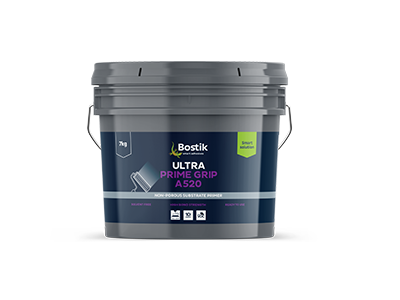
Before any smoothing operation on non-porous surfaces such as tiles, you will need to use a primer specifically for non-porous surfaces, such as Prime Grip.


