A Simpler and Faster Way to Install Exterior Panels | Bostik Blog

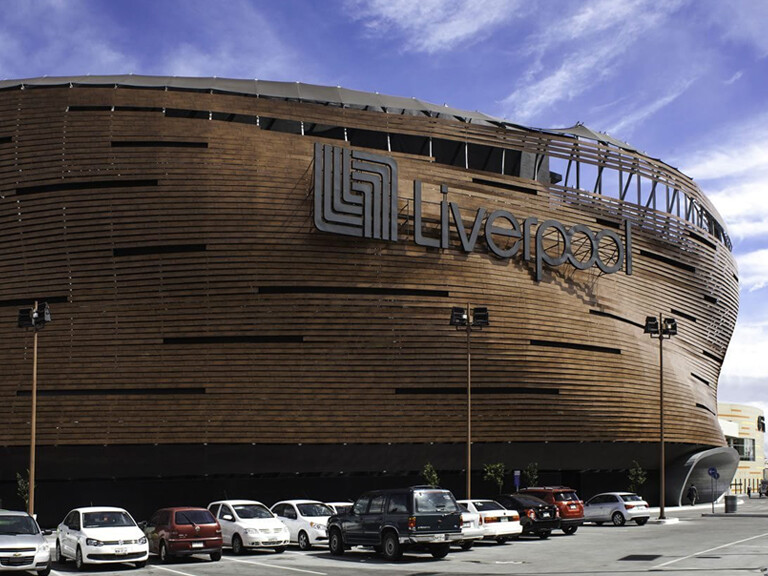
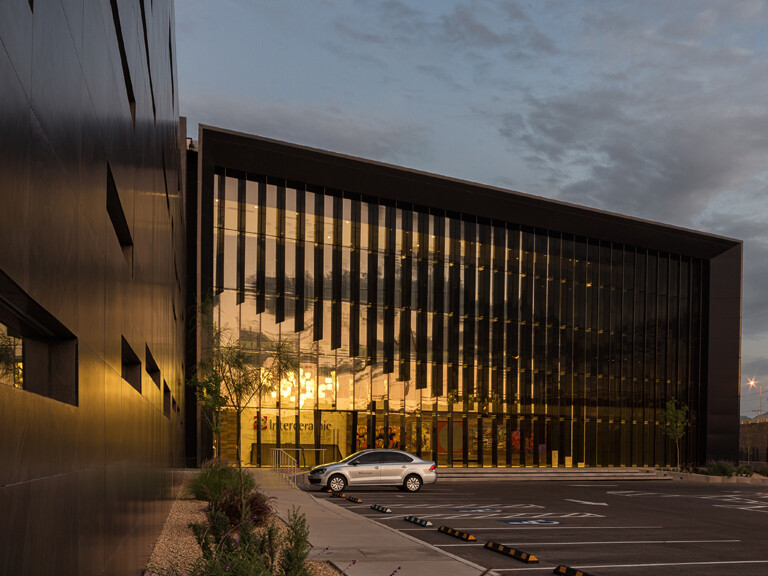
A building’s façade is the brand of the structure. The limits of exterior design are being pushed further and further to elevate impressions. And with elevated design, there has been an increased demand for elevated and innovative installation methods that uphold the integrity of the architect’s vision.
Mechanical installation has long been the traditional choice. But revolutionary application techniques such as chemical adhesives have surpassed these outdated methods in safety, efficiency and effectiveness. Not only are these adhesives more advanced than traditional practices with a long list of benefits, but they are also much easier and faster to install, saving your project’s timeline and budget.
Benefits
Adhesive bonding is the more aesthetic choice when it comes to exterior design, and it has also become the fastest, safest and most efficient solution available.
Mechanical fasteners can be an eyesore, and drilling into exterior panels can weaken and stress them. Mechanical installation is also disruptive, loud, dirty, requires power tools and electricity that raise the cost of the project, and possibly disrupts building occupants.
Adhesives like Bostik’s PanelTack™ are discreet and keep the façade panels whole and unmarred with no nails, screws or drilling required. The secure bond is more resistant to wind and vibrations, has higher thermal resistance and distributes stress evenly for a long-lasting exterior. The successful passing of AAMA 501.6 Seismic Test Method ensures that the elastic bond of PanelTack HM™ has the ability to absorb vibrations caused by instances of heavy traffic and seismic movements, and the NFPA 285 Standard Fire Test Method indicates the fire stability, flame resistance and thermal insulation of the PanelTack system.Not only is site installation is quiet, clean and budget-friendly, but the installation process is also fast and easy. You’ll be blown away by how much time, money, and energy you and your team will save. And Bostik’s complete PanelTack System comes with everything you’ll need to get the job done. Let’s take a look at their simple installation method.
Preparation
Prior to application, be sure to do a thorough inspection of the construction site, double-checking any materials and tools being used. Then clean both the support structure and the wall cladding panels or façade surfaces, eliminating any dirt, grease or residue to guarantee a strong bond.
Make sure the weather conditions are permissible for installation. Do not apply cladding panels or PanelTack adhesives in windy conditions or when there is rain, frost, mist or dew that will result in surface condensation. Also, check that all technical and safety specs have been read and understood completely.
Always be sure to do a test patch to get familiar with the application technique and ensure product satisfaction before embarking on the full project.
Prime
Once the site has been thoroughly checked, prepped and cleaned, it is time to prime the structure and the wall cladding panels or façade.
To apply Primer PanelTack™ to the support structure, soak a clean, dry, lint-free cloth partly in the solution. Then, rub the cloth firmly over the structure, building up one consistent layer, and let it dry for a few minutes.
Next, apply the primer to the wall cladding panels, using the correct product for the materials being installed. Use either a clean, dry, lint-free cloth, brush or paint roller to lay on the primer where the panel will come into contact with the PanelTack adhesive. Wait for this to dry completely.
That’s it for the priming stage. No pre-drilling is needed, no back grooving required and no fighting with all the components of mechanical fasteners. Primer PanelTack is unparalleled in its efficiency and is the best primer for exterior wall paneling on the market.
Apply
Once all the prep work and priming are done, it is time to install the panels, which happens in three simple steps.
Step 1: Apply PanelTack™ FoamTape™ to the Structure
This application should allow sufficient space for the adhesive to flow to all sides when the panel is finally pressed in place. Leave the protective film in place until just before installing the panels.
Step 2: Apply PanelTack Adhesive
The adhesive should be applied next to the PanelTack FoamTape, vertically and continuously, using a professional air pressure, electric, or manual sausage gun. Make sure to work one panel at a time so the adhesive does not set prematurely.
Step 3: Install the Panel
Remove the protective film covering the PanelTack FoamTape. Position the façade panel just right, then press firmly where it meets the PanelTack FoamTape, gently rubbing the contact areas to engage the chemical bond.
Installation Made Simple
Exterior panel installation is as easy as that. No electricity on site needed. No unsightly nails or screws. No compromise to the integrity of the exterior panels.
And no unnecessary headaches on your part.
The complete Bostik’s PanelTack Adhesive System includes PanelTack Primer, PanelTack FoamTape and PanelTack adhesives as well as excellent support from trained technical representatives to answer any questions or concerns you may have. Contact Bostik today and get everything you need for an easy, efficient and effective installation.