A guide for construction professionals on carrying out repairs to cracked screeds and construction joints.
Cracks and joints
Cracks
The cracking of concrete and cementitious screed is a fact of life. It’s going to occur somewhere. Designers and builders do their best to prevent cracks from forming in unwanted places. Shrinkage joints at regular intervals encourage cracks to form in those locations rather than haphazard places. Reinforcing mesh is often placed in concrete or screed to reduce the sizes of any cracks that do occur.
In addition to shrinkage cracks, which occur due to internal stresses developing in concrete during the hardening process, other factors can contribute to cracking, such as settlement, overloading, or stress concentrations at corners.
Cracks can indicate structural problems, at worst. Or they can simply be unsightly.
However, cracks can also pose a risk to waterproofing integrity. Any crack in a ground slab or basement wall must be promptly addressed, as groundwater under pressure tends to infiltrate through vulnerabilities in the waterproofing system. However, cracks are also potential weak points when it comes to waterproofing. A crack in a ground slab or basement wall must not be left unaddressed, because groundwater under pressure has a habit of finding its way through flaws in a waterproofing system.
Joints
Joints are discontinuities between two different construction materials. They may occur between separate concrete pours or screed applications as part of a new project, or when new concrete is poured against an existing structure.
- Control joints (or crack-inducement joints) are detailed to encourage cracking to occur in specific, managed locations on a new slab.
- Movement joints are designed to accommodate differential in-plane movement (e.g. expansion or contraction and the movements of adjacent buildings relative to each other).
- Construction joints (often called day joints or bay joints) describe the joints between portions of a slab poured on different days. These joints are detailed to allow shrinkage and other in-plane movements but not out-of-plane differential movements (vertical or rotational).
When new concrete is poured directly against an existing concrete structure, it is often detailed with reinforcement ties to transfer stresses and prevent differential movement.
So, cracks and joints are a fact of life on any construction project. They need to be carefully designed to accommodate (or restrict) the expected movements. And the integrity of the waterproofing at those locations is paramount.
But what can you do with unsightly cracks or joints in your concrete or screed where the movement (e.g. shrinkage) has finished and no further widening of the cracks is expected?
Repair them
Repair the cracks. Introducing two BOSTIK crack-repair products that will do the job perfectly:
- RENO P520 EASY is a solvent-free two-component repair resin for sealing screed cracks and joints.
- RENO E742 STRUCTURE is a two-component solvent-free epoxy resin designed for the bridging of cracks in reinforced concrete (minimum 0.3mm width; maximum 0.8mm) in soft flooring applications.
Preparation and application
Sealing of screed cracks and joints: RENO P520 EASY
Step 1: Preparation
- The substrate must be dry, stable, and load-bearing.
- Clean the substrate to remove layers that would impair adhesion and load-bearing.
Cut open the cracks and place 8-centimetre-long cross sections at 25-centimetre intervals.
Clean out the incisions with an industrial vacuum cleaner.
Step 2: Installation
- Pour Component B (brown) into the bottle containing Component A (transparent). This will yield approximately 600 millilitres of mixed resin.
- Close the Component A bottle and shake it vigorously for 15 seconds.
- Insert screed wave connectors (included in the packaging of RENO P520 EASY) into the cross sections at a depth of up to two-thirds of the screed thickness.
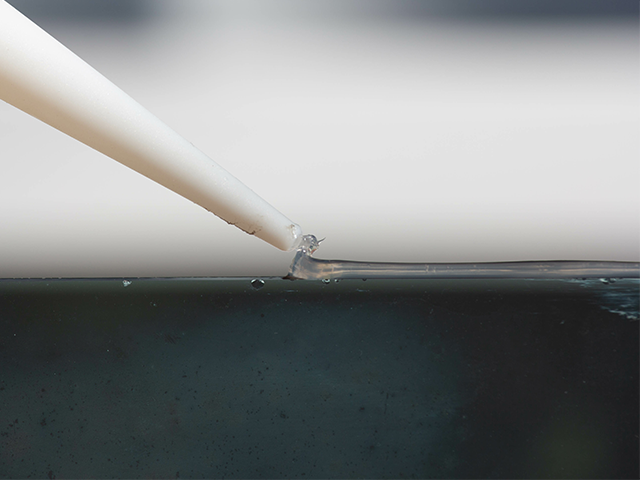
- Pour the mixed resin into the prepared crack and smooth it down with a spatula.
- Coverage rate depends on the length, depth, and width of the cracks to be repaired.
- To improve the adhesive bond of the levelling compound or adhesive to be applied over the top, sprinkle the surface of the freshly placed resin with fire-dried BOSTIK quartz sand (0.1–0.5mm).
Note: metal profiles and strips must be sanded and degreased. Apply the repair resin to the substrate with a suitable toothed strip, immediately insert/join the parts to be bonded, and press firmly.
Step 3: Next Steps
- Curing time is approximately 20 to 30 minutes (at 23 degrees Celsius and 50% RH), after which the surface will be ready to have a self-levelling compound or primer applied over it.
Filling cracks in reinforced concrete
RENO E742 STRUCTURE is suitable for treating fractional joints, sawn shrinkage joints, and stabilised cracks of less than 0.8mm on interior floors, in preparation for applying self-levelling compound and then installing a soft flooring system.
Step 1: Preparation
Crack bridging:
- Widen the cracks with a grinder equipped with a concrete-cutting disc.
- Remove dust and loose particles with an industrial vacuum cleaner.
- Shrinkage joints:
- Scrape and remove dust and loose particles from the joint with an industrial vacuum cleaner.
Step 2: Installation
Working conditions: temperature range: +5 to +25 degrees Celsius; maximum 75% RH.
During application and curing, the temperature of the substrate must always be at least 3 degrees above the dew point temperature.
- Slowly add the hardener to the resin (i.e. add Part A to Part B) while mixing with an electric drill and mixing paddle. Keep the speed under 300 rpm to avoid entraining bubbles.
- The standard mixing ratio for Part A to Part B is 2:1 (by volume).
- Mix thoroughly for 3 minutes.
- Apply the mixture immediately to the crack.
- Approximate coverage rate: 1kg of RENO E742 STRUCTURE per 5 to 7 linear metres (depending on the dimensions of the crack).
Tip: for treatment of wider cracks: sink a strip of glass fibre cloth into the surface of the resin, and integrate it into the priming coat.
Step 3: Next steps
- After 24 hours, the resin will be fully cured and ready to take the primer and self-levelling compound.
Cracks treated and out of sight, peace of mind.
Use BOSTIK’s RENO P520 EASY and RENO E742 STRUCTURE to repair stable cracks and joints in screed and concrete. Once you’ve done that, you can focus on installing the soft flooring system. Because the cracks and joints will be as good as eliminated and won’t cause problems for the flooring system.
Peace of mind. A job well done.
Sign Up for Free Training
Bostik Academy is a knowledge centre carefully crafted for professionals in the construction industry. We offer a training program tailored to your needs and expertise.
Our technical team will teach you the best application practices, key industry recommendations, and our product portfolio. Learn more about our training here or sign up directly through the link below.


